What to Do in the First 24 Hours After Water Damage
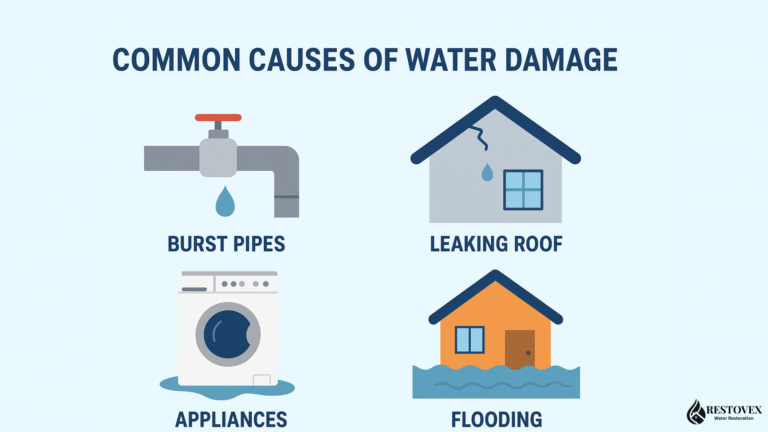
Water damage rarely looks serious at first. A leaking pipe, appliance overflow, or rainwater intrusion may seem manageable, but moisture spreads fast and quietly. What happens in the first 24 hours after water damage often determines whether the issue stays under control or turns into long-term structural damage, mold growth, and expensive repairs.
This guide explains what homeowners should do during those critical first hours, using practical steps followed by professional water damage restoration experts.
Why the First 24 Hours Are Critical
Water doesn’t remain on the surface. It seeps into drywall, flooring, insulation, and wooden framing within hours. As moisture spreads, materials weaken and create ideal conditions for mold spores to activate.
Acting quickly helps:
- Limit structural deterioration
- Reduce the risk of mold and bacteria
- Protect indoor air quality
- Keep restoration costs lower
Delays often result in hidden damage that becomes visible weeks later.
Step 1: Put Safety First
Before any cleanup begins, safety must be your top priority. Water combined with electricity is extremely dangerous. If water has reached outlets, appliances, or electrical panels, power should be shut off from the main breaker before entering the affected area.
Next, stop the source of the water. This could mean shutting off the main water valve, turning off an appliance supply line, or temporarily covering a roof leak if weather conditions allow. Preventing additional water intrusion is essential before moving forward.
It’s also important to identify the type of water involved. Clean water from supply lines is safer to handle, while gray water from appliances or black water from sewage and flooding poses serious health risks. Contaminated water should always be handled by professionals.
Step 2: Document the Damage Properly
Once the area is safe, documentation should begin immediately. Insurance providers require clear evidence, and thorough records help avoid claim delays.
At this stage, you should:
- Capture standing water, damaged walls, floors, and furniture
- Record the source of the water damage
Creating a simple written list of damaged items, including approximate values, further strengthens your insurance claim and shows responsible action.
Step 3: Remove Standing Water Quickly
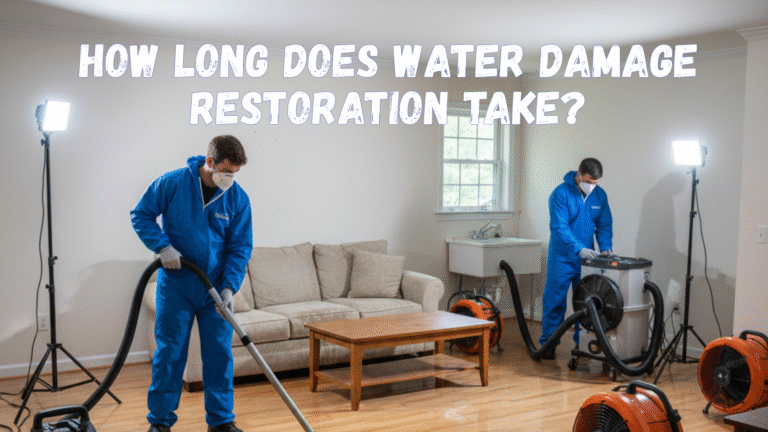
Standing water causes damage to worsen with every passing hour. The goal is to remove as much water as possible before it penetrates deeper into building materials.
For minor clean-water incidents, basic tools such as mops, towels, or a wet/dry vacuum can help. However, these methods are limited and often leave moisture trapped beneath carpets, subfloors, and inside walls.
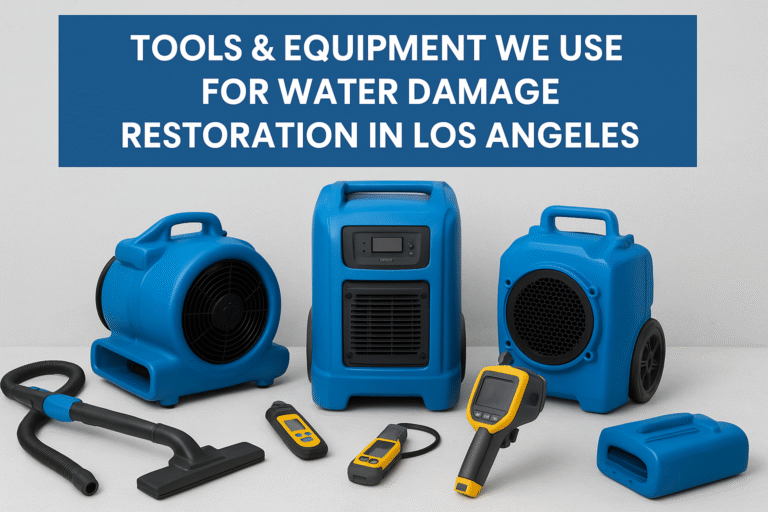
Professional water extraction equipment is designed to pull water from areas that homeowners cannot access, which is why early professional involvement is often recommended. If you notice water leaks into walls, it’s important to act quickly to prevent further damage learn more about the signs and fixes.
Step 4: Begin Drying and Moisture Control
Once visible water is removed, drying must start immediately. This step is often misunderstood. Drying is not just about air—it’s about controlling moisture levels inside materials.
Effective drying usually involves:
- Increasing airflow with fans
- Running dehumidifiers continuously
- Ventilating the space when outdoor conditions allow
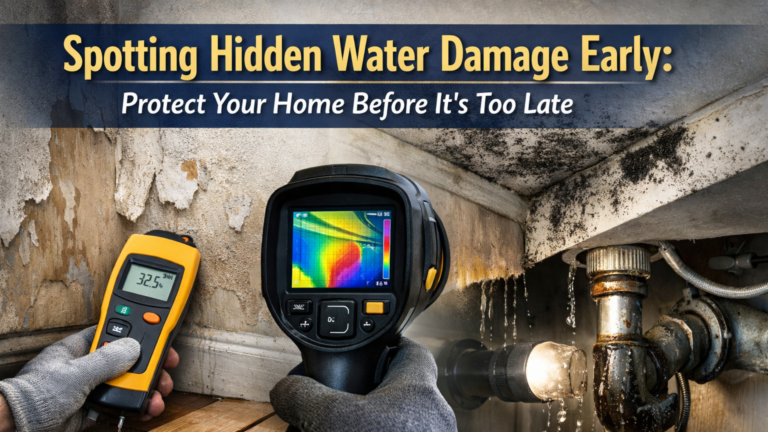
Moisture meters and thermal imaging tools used by restoration professionals help confirm that materials are actually drying, not just appearing dry on the surface.
Step 5: Remove Items That Cannot Be Properly Dried or Repaired
Some materials simply cannot recover once saturated. Porous items absorb water quickly and may hold moisture even after surface drying.
Common materials that often require removal include carpet padding, insulation, damaged drywall, and certain types of pressed-wood furniture. Leaving these items in place traps moisture and increases the risk of mold growth behind walls and under floors.
Timely removal allows the structure to dry properly and prevents secondary damage.
Step 6: Take Early Steps to Prevent Mold
Mold growth can begin within 24 to 48 hours after water exposure. Prevention must start early, before visible signs appear.
Key mold-prevention actions include:
- Keeping humidity levels low
- Maintaining continuous air circulation
- Ensuring affected areas dry completely
Surface cleaning alone is not enough. Household bleach does not penetrate porous materials and should not be relied on as a mold solution. Professional antimicrobial treatments are more effective when moisture exposure has been significant.
Step 7: Contact a Water Damage Restoration Professional
Even if the damage seems minor, a professional inspection is highly recommended. Water damage restoration companies use specialized equipment to detect hidden moisture inside walls, ceilings, and flooring systems.
Certified technicians follow industry standards for water mitigation, structural drying, and moisture control. Early professional involvement often prevents long-term issues and reduces overall repair costs.
Common Mistakes to Avoid After Water Damage
Many homeowners unintentionally make the situation worse by delaying action or underestimating the damage. Common mistakes include waiting too long to start drying, ignoring hidden moisture, or attempting to clean contaminated water without proper protection.
Another frequent issue is failing to document damage before removing materials, which can complicate insurance claims later.
Final Thoughts: Quick Action Makes the Difference
Water damage is a time-sensitive problem. The first 24 hours are your opportunity to control the situation before it escalates. By focusing on safety, documentation, water removal, moisture control, and professional assessment, homeowners can prevent serious structural damage and mold-related issues.
Handled correctly, water damage can be fully restored without long-term consequences. The key is acting early and acting smart.